
Getting Started
Create your first 3D model with TripoSR in a few steps, from signing in and choosing a tool to downloading the finished GLB file.
This guide walks you through making your first 3D model with TripoSR. The whole flow runs in the browser: you sign in, pick a tool, provide an input, generate, and download the result as a GLB file.
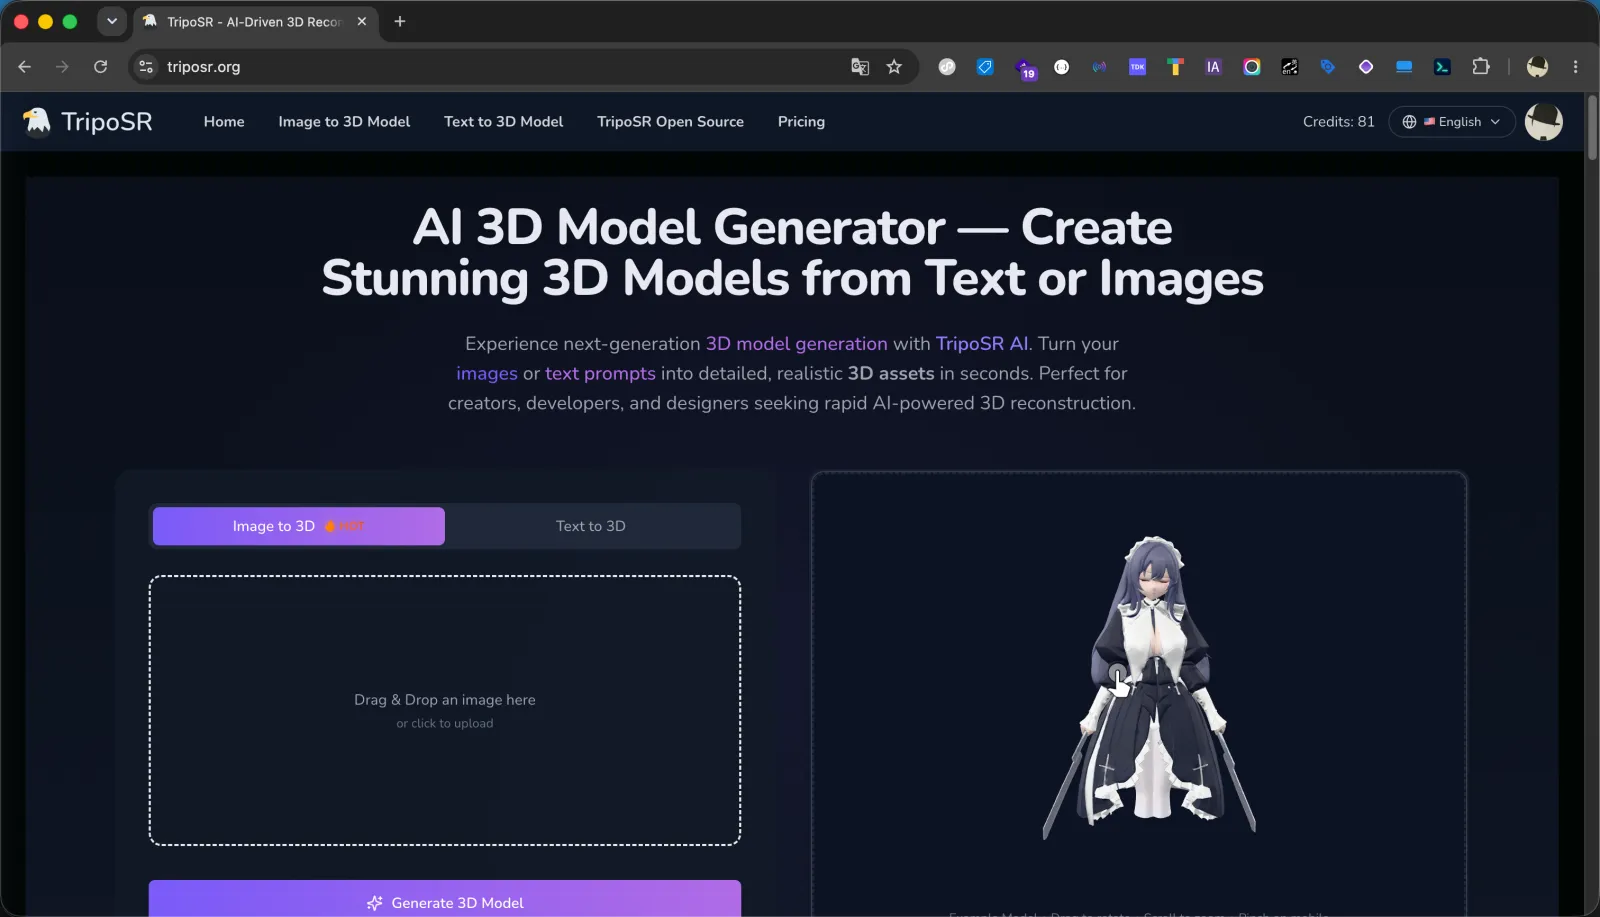
You need an account
Generation requires a signed-in TripoSR account, and each task costs 12 to 20 credits depending on the texture quality you pick. There is no anonymous path, so sign in before you start.
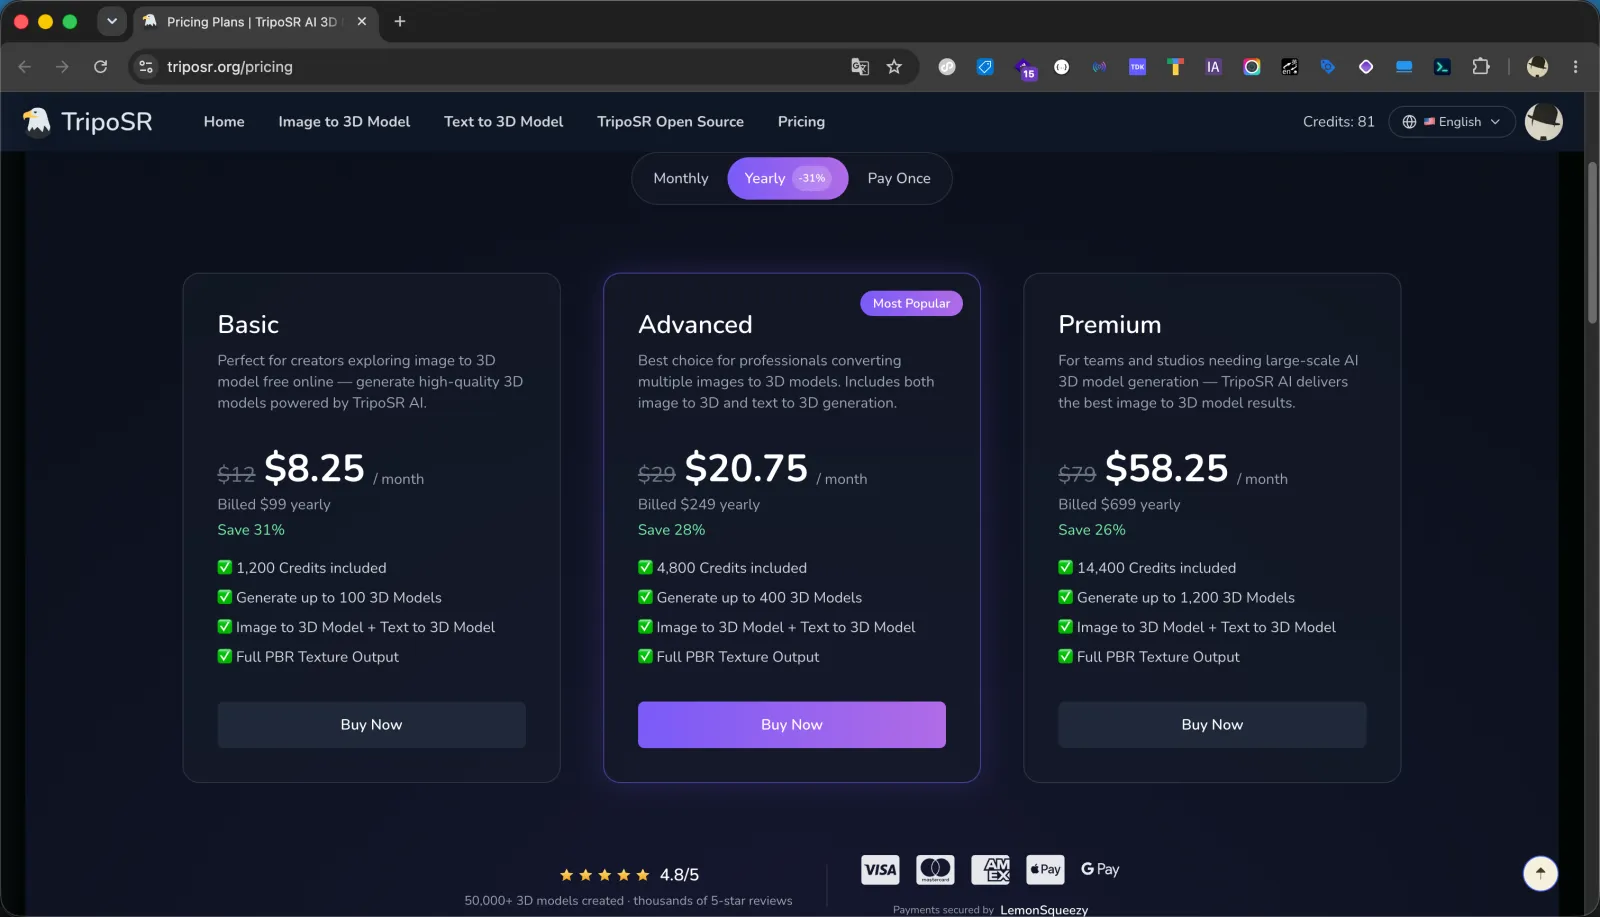
Credits come with a plan. Each plan includes a monthly (or one-time) credit balance you spend on generations, and both tools cost the same: 12 credits per task at Standard texture quality, 16 at Ultra, 20 at Max. See the pricing page for current plans.
Make your first model
Sign in
Open the app and sign in to your TripoSR account. Generation is gated behind sign-in, so this step is required before you can start a task. Generating costs credits (12 to 20 per task, by texture quality), so make sure your account has credits available. See the pricing page for plans and credit options.
Choose Image-to-3D or Text-to-3D
Pick the tool that matches what you have. Use Image-to-3D when you already have a photo of the object, and use Text-to-3D when you want to describe the object in words instead. Both produce the same GLB output and cost the same.
Provide your input
For Image-to-3D, upload a clear photo of a single object (drag and drop or click to upload). For Text-to-3D, type a short prompt that describes one well-defined object, for example "a small ceramic teapot with a round lid".
Generate
Start the task. Each generation costs 12 to 20 credits, by the texture quality you picked (the same for both tools). The reconstruction runs on a cloud GPU and typically takes a couple of minutes. If a generation fails, your credits are refunded automatically.
View and download the GLB
When the task completes, preview the model in the browser (drag to rotate, scroll to zoom, pinch on mobile). When you are happy with it, download the 3D model as a GLB file. See Exporting the GLB for what to do with the file next.
Texture quality tiers
Before you hit Generate, the panel offers three texture tiers. Geometry is the same in all three; what changes is how much texture detail is baked onto it, and what the run costs.
| Tier | Textures | Credits per task |
|---|---|---|
| Standard | Fastest, lightest on credits | 12 |
| Ultra | HD textures | 16 |
| Max | 8K textures, the most detail | 20 |
Max is preselected. Drop to Standard when you are iterating on a shape and only care about the mesh, or when you plan to texture the model yourself later. The "generate up to N models" figures on the pricing page are counted at Standard, so a plan stretches furthest there.